

I recently built a Raspberry Pi 4 unit with Retro Pi and Emulation Station to check out its performance for retro gaming and when I got the Atari 800 emulation to work, it brought back many childhood memories of my first real PC. Games like Star Raiders and M.U.L.E. were well ahead of their time and to get the true experience, they have to be played with real Atari joysticks!


Star Raiders and M.U.L.E. on Atari 800
For past few months, I spent a good amount of time programming micro-controllers for IoT devices for my work projects and I thought about the possibility of using a micro-controllers to adapt Atari Joysticks to a PC so they can be seen as regular PC Gamepads.
I looked online and found some classic joysticks that came with the Atari Game Console Flashback unit for $15 on eBay and decided to give it a shot.
I checked out the Pin Diagrams for the joysticks and it seemed simple enough as they are basically 5 switches (1 for each direction and 1 fire button). Since I wanted at least 2 Joysticks connected for multiplayer games, I needed at least 10 IO ports to connect the 5 switches of each joystick.

I decided to use an Arduino Pro Micro controller since it was only $4, had plenty of IO ports, and most importantly it had a USB port that can communicate with PCs as a HID device.

I created a circuit design on EasyEDA so I could later order a PC baord but initially I created a prototype using PCS Prototype Boards you can get from Amazon or Aliexpress for pennies.


I ordered a few DB9 male connectors where the I could plug the joysticks into and put the parts on the board and soldered the connections.

I wrote some code in Arduino and after several attempts and figuring out custom board files for naming, finally had success. You can get the Dual joystick code from here.
If you are wondering how the animation below shows 5 button working, its not related to directions.. keep reading as there are multi button Atari joysticks.

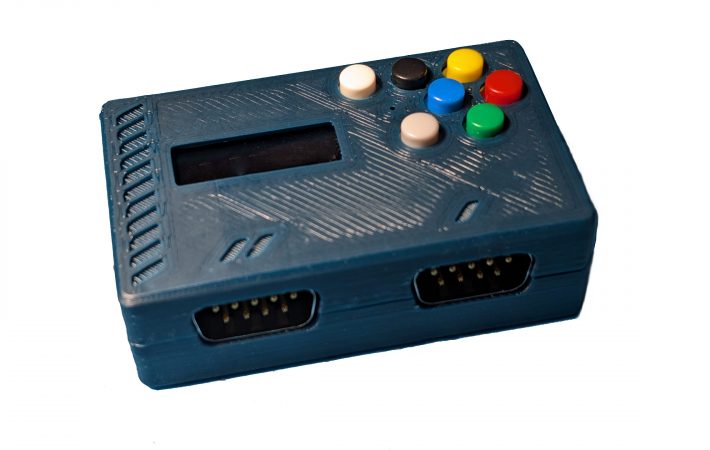
Next. I decided to make an enclosure for it using my 3D printer! I drew it up in Fusion 360 and printed the top and bottom and made quite a tight fit.

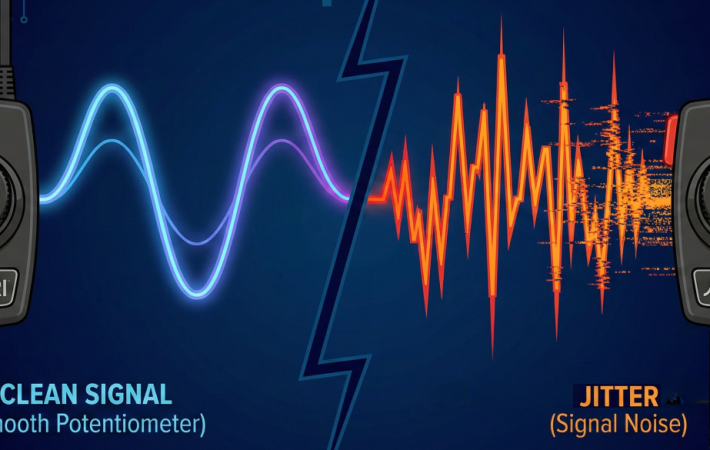
I was finished with first working prototype. Next I refined it to a smaller version with a professionally made circuit board so its more reliable, no jumper wires, and less soldering. So its basically done.


Download STL files here.
But wait, M.U.L.E. is best with 4 players and I had to find a way to get it done so I could play with my nephews. One way was just to build another one taking up 2 USB ports and double the parts, and another was to challenge myself to do a 4 player design with a single USB port. So I did both
For the 4 port unit, I needed more ports so I decided to use a I2C I/O extender that can extend 2 GPIO pins to 16 using serial communication. I also wanted to support the modified Joysticks that have the extra Start, Select, Menu, and a few more button. Here is the circuit diagram and the outcome.


It worked great and I can tell you we had an amazing time playing 4 player M.U.L.E. ! So give it a shot and make one. You can get the code here.
If you rather just buy one from me, you can get it below. All net proceeds go to charity.
- Sale!Product On Sale

Leave a comment
Your email address will not be published. Required fields are marked *